Workshops/Lectures
Fold Forming Techniques For Metalsmiths
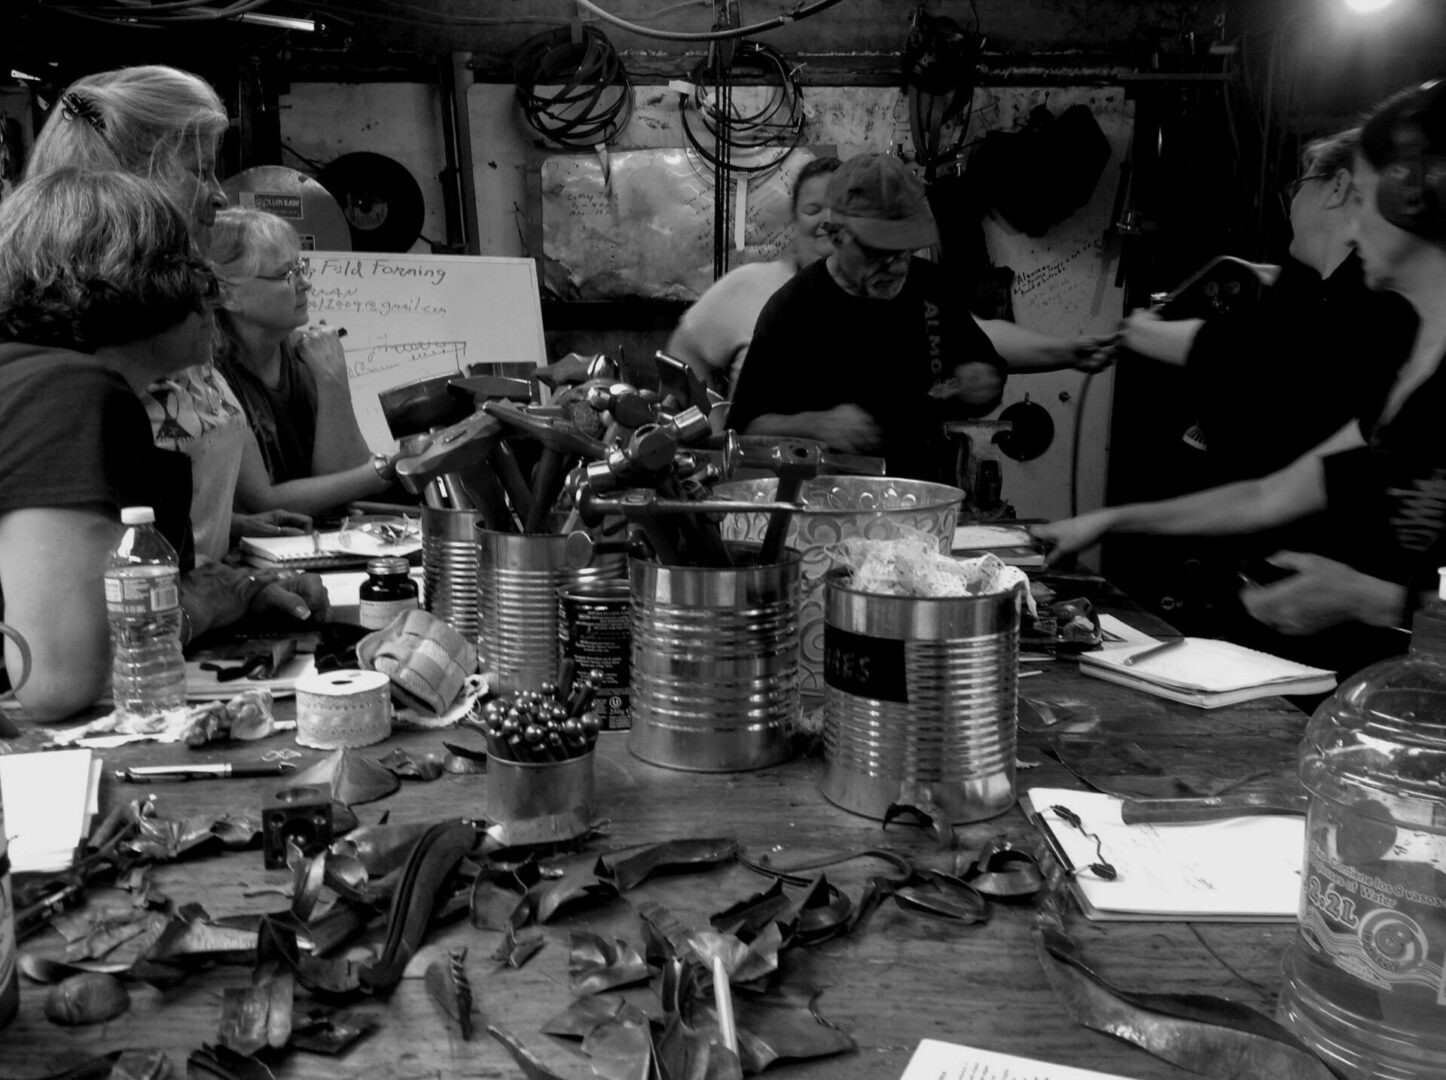
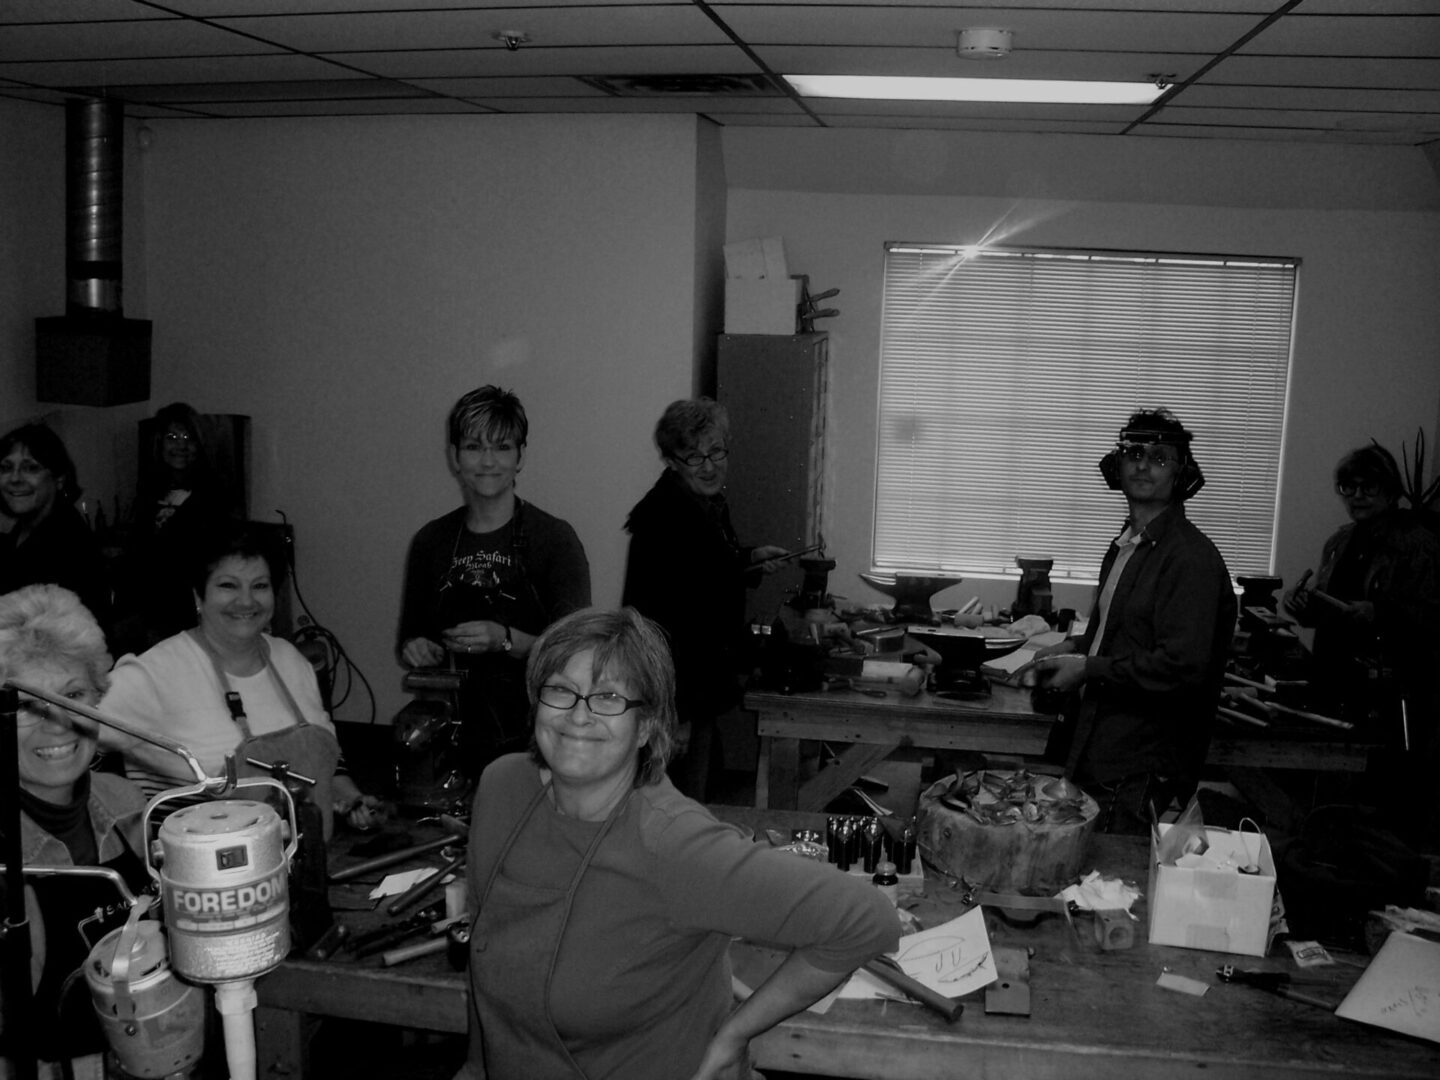
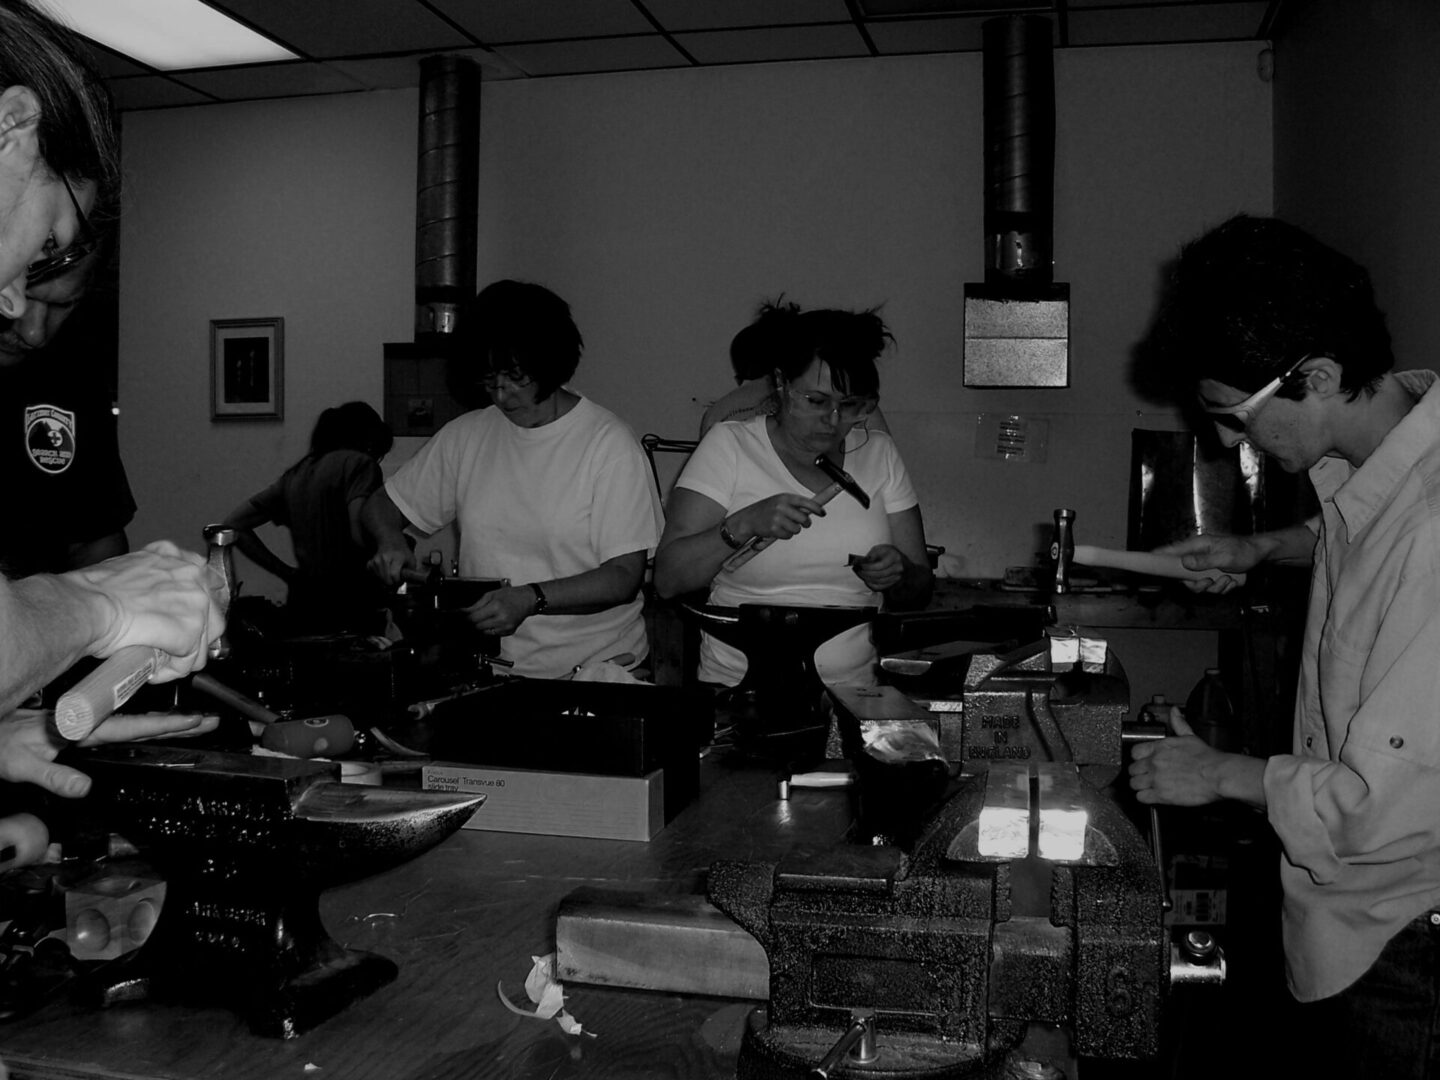
Fold forming was developed as a metal forming system by Charles Lewton-Brain in the early 1980's/ Charles has demonstrated his extensive knowledge in workshops and lecturers throughout the world. His publications update new developments in fold form process. (Write: Charles Lewton-Brain, 1407 14 th Ave. N.W. , Calgary, Alberta, T2N 4R3 ) The technique takes advantage of the inherent plastic properties of metal. Using sheet metal that is folded and stretched, the student will explore a variety structures. Students will be introduced to fold-form techniques in both Ferris and non Ferris metals including line folds, dapped line folds, T-Folds, (double, tapered, & arched) , Plunkett fold, Good fold, Dapped T-Folds, "air repousse'" Heloide folds, Heistad cup, Dapped and roller printed folds, Scored and Pleated folds, folds using shims, wire scoring and folding. Hands On Participation Workshop Limit - 12, 18 contact hours Hands on workshop Demonstration Workshop only - Limit - 20, 6 hours
Recommended Tools And Supplies:
Planishing stakes
Hammers, vise plates
Rawhide or plastic mallet
Small and medium forging hammer (smooth or polished)
Small and medium cross peen hammer (smooth or polished)
Small and medium planishing hammer (smooth or polished)
6-8 inch vise with smooth or polished jaws (sturdy mount)
12" x 12" 24ga. copper sheet (1/student)
6" x 6" 22ga. Copper sheet (1/student)
Cotton lace
Dapping blocks and punches
Oxy/Gas torches
Med. and easy silver solder and soldering set up
Polished butter knife (1/student)
Rolling Mill
Scribe, sketch pad, rubber cement
Aviation snips
Finishing files
16ga steel binding wire
Jewelers saw
Burnishes
Fabric for roller printing
Eye And Ear Protection
Hot Metal Forging For Jewelers And Metalsmiths
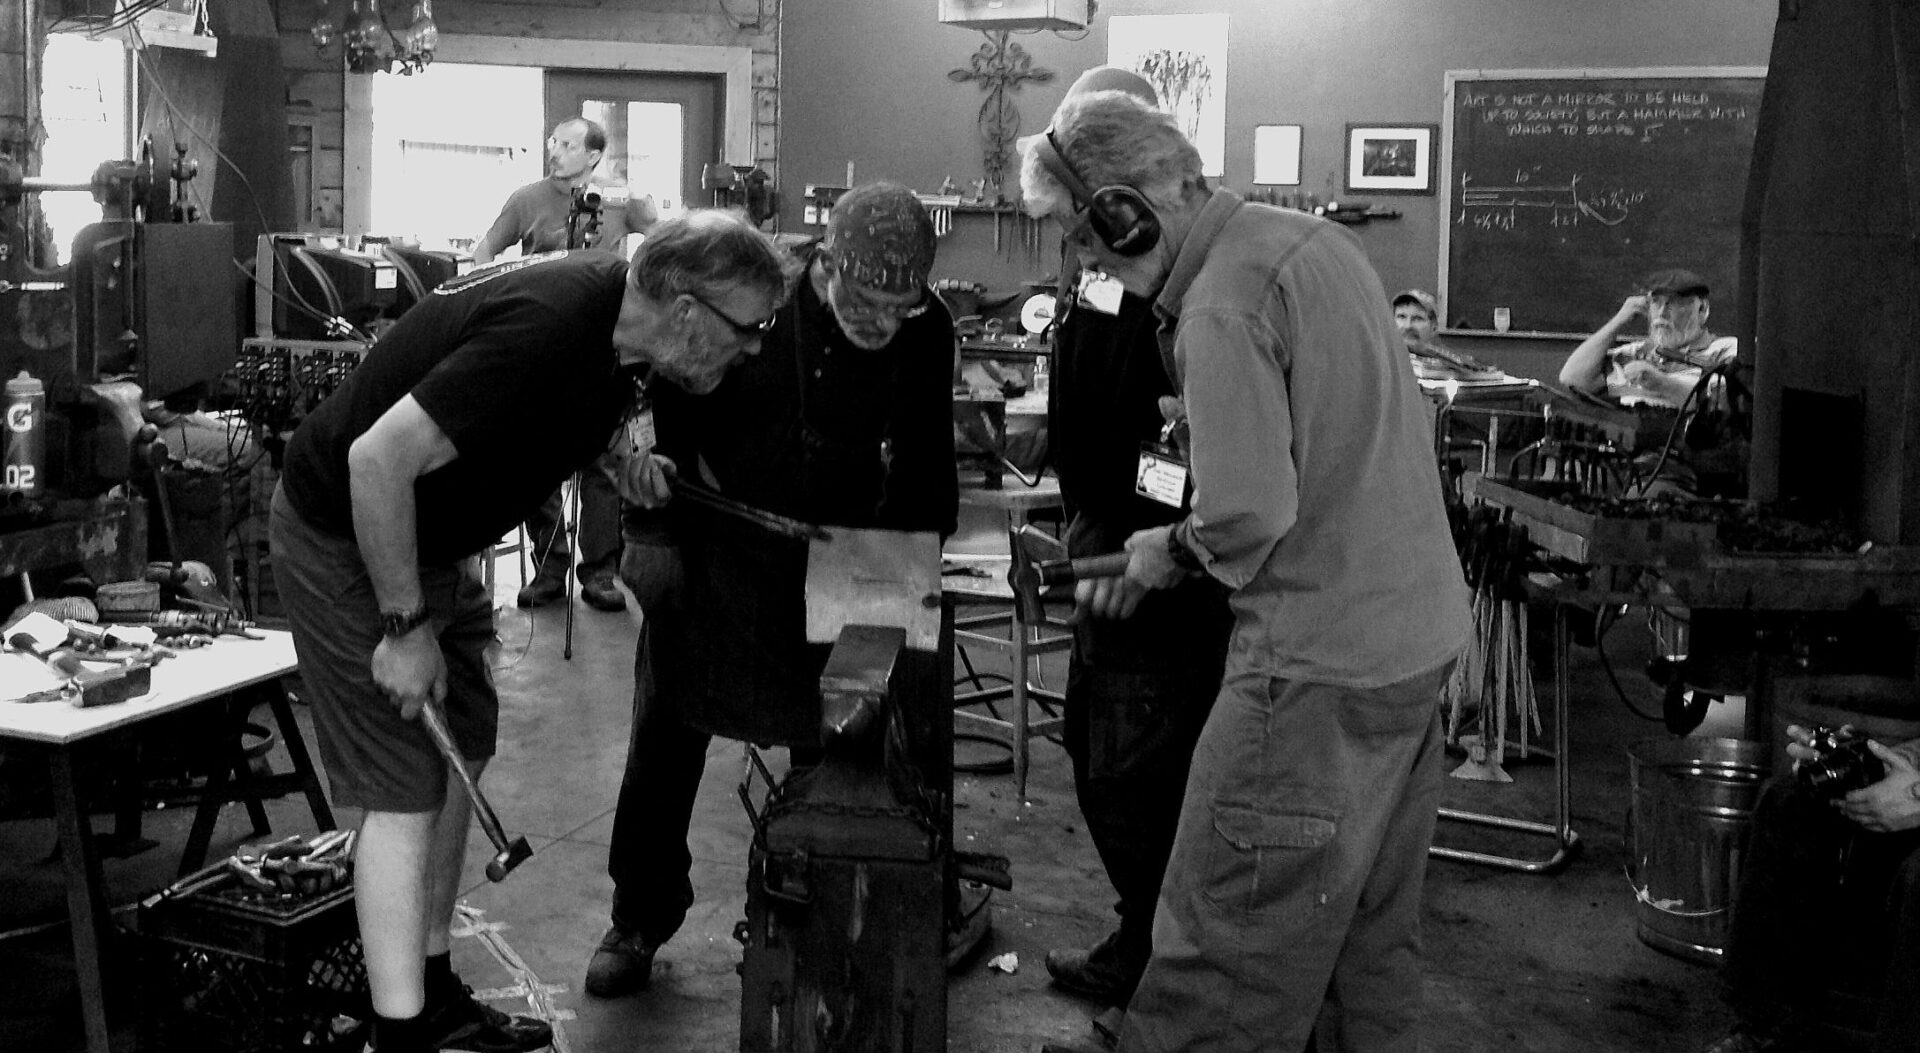
Copper, Silver, brass and gold can be successfully forged while working the metal red hot. Hot forged metals will forge out very quickly and do not need to be repeatedly annealed. Hot forging allows the metalsmith to forge out large billets of metal allowing the artist to use larger more dynamic forged design elements. Students will learn how to alloy and pour sterling silver ingots then forge the poured ingots into square billets. Students will forge the billets into variety of predetermined designs using a variety hot metal forging techniques. The forged elements made in this class can be directly integrated into future jewelry or sculpture designs. This is an intermediate metalsmithing class and students should have some experience with jewelry and metalsmithing fabrication techniques and studio tools.
Studio Requirements:
Rolling Mill *optional
Planishing stakes *optional
Forging Hammers
Strong bench mounted vise (1)
Forging Anvils (4)
Annealing kilns (2)
Tongs for handling hot forged rod
Ingot mold, crushable and melting torch
Student Tools And Supplies:
Medium weight crosspeen hammer
Medium weight round forging hammer
Small and medium cross peen hammer (smooth or polished)
2 oz .999 fine silver
1/2 oz. .999 copper
EYE AND EAR PROTECTION
Tool Making For Jewelers And Metalsmiths
This 3 day hands on blacksmithing workshop will introduce students to basic blacksmithing tools and techniques needed to make hot forged steel tools used in making fold form jewelry. Students will be making their own steel chasing, planishing and forging tools. Students will hand forge high quality custom cross peen hammers and planishing hammers from inexpensive ball peen and claw hammers. Instructor will demonstrate forging sinusoidal stakes from tapered mandrels and grinding simple chasing and texturing tools. Students also will learn to harden, temper and polish their steel tools.
Studio Requirements:
Well Equipped Blacksmith Shop With:
gas forge
power hammer (optional)
3 anvils
3 post vise
Chop saw
Bench grinders and belt sander
Oxygen /Acetylene torch with rosebud tip
Two coil car springs (junk yard purchase)
Two boxes large cut nails
Two boxes Long concrete nails
10 feet 1/2 " square mild steel rod
Student Supplies:
Two old cheap claw or ball peen hammers (8oz or 12oz. hammers work best)
Two 8" tapered punches (auto supply store)
Leather gloves
Leather apron
Eye protection
Hearing protection
Heavy all leather shoes
Pneumatic And Electronic Mechanization
Techniques For Artists
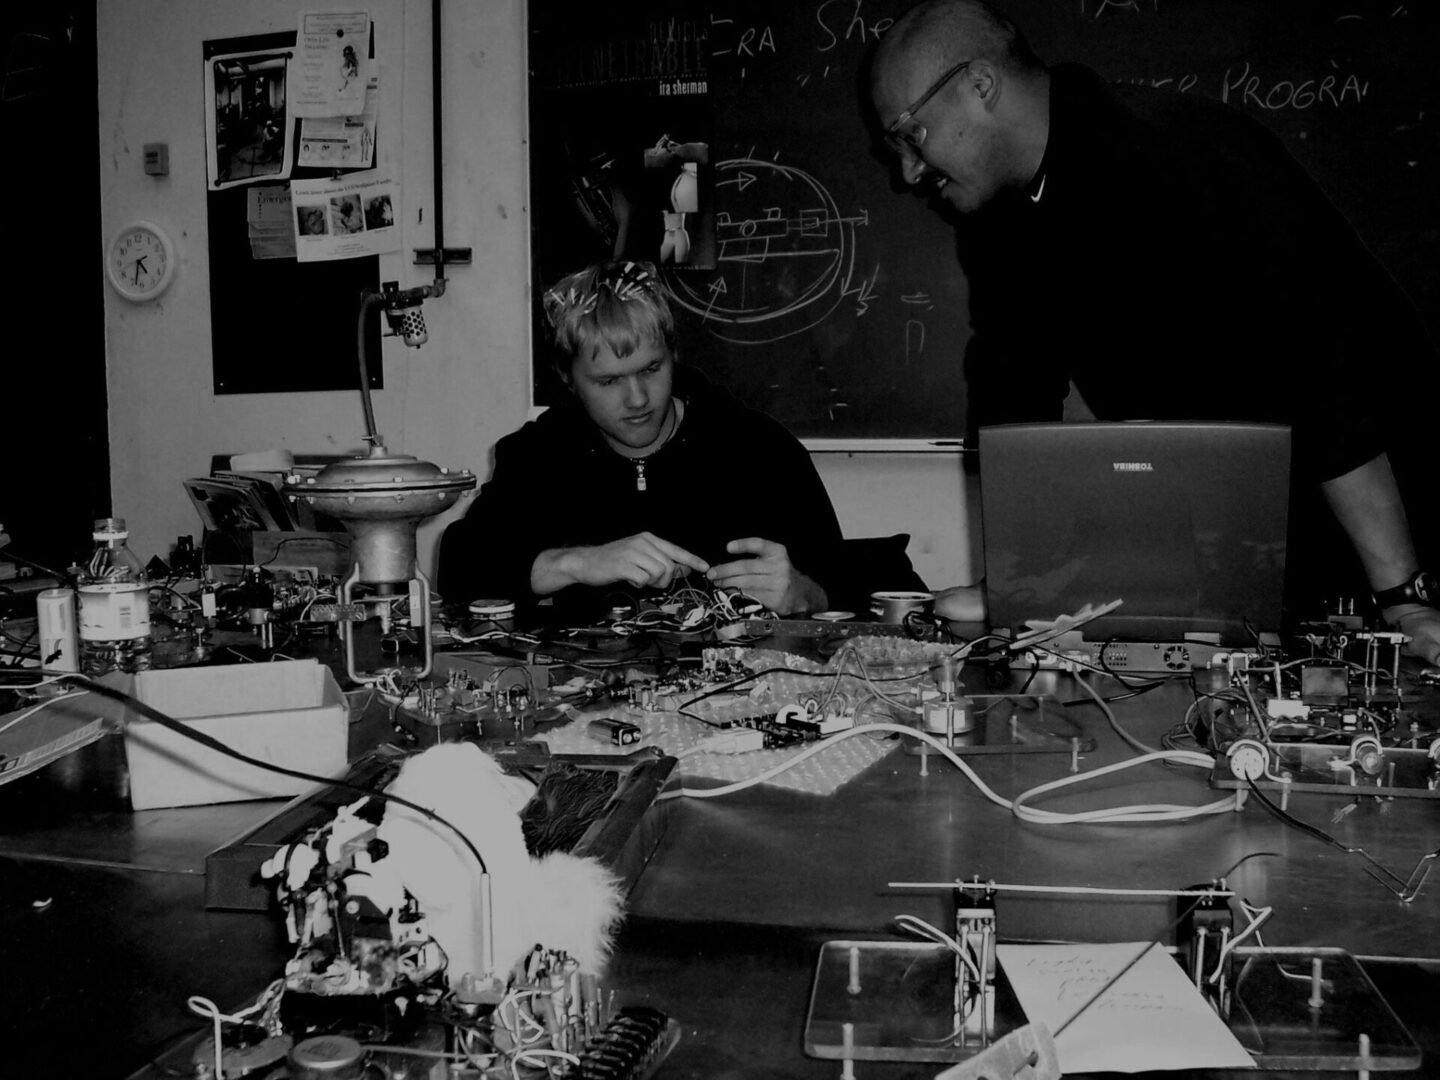
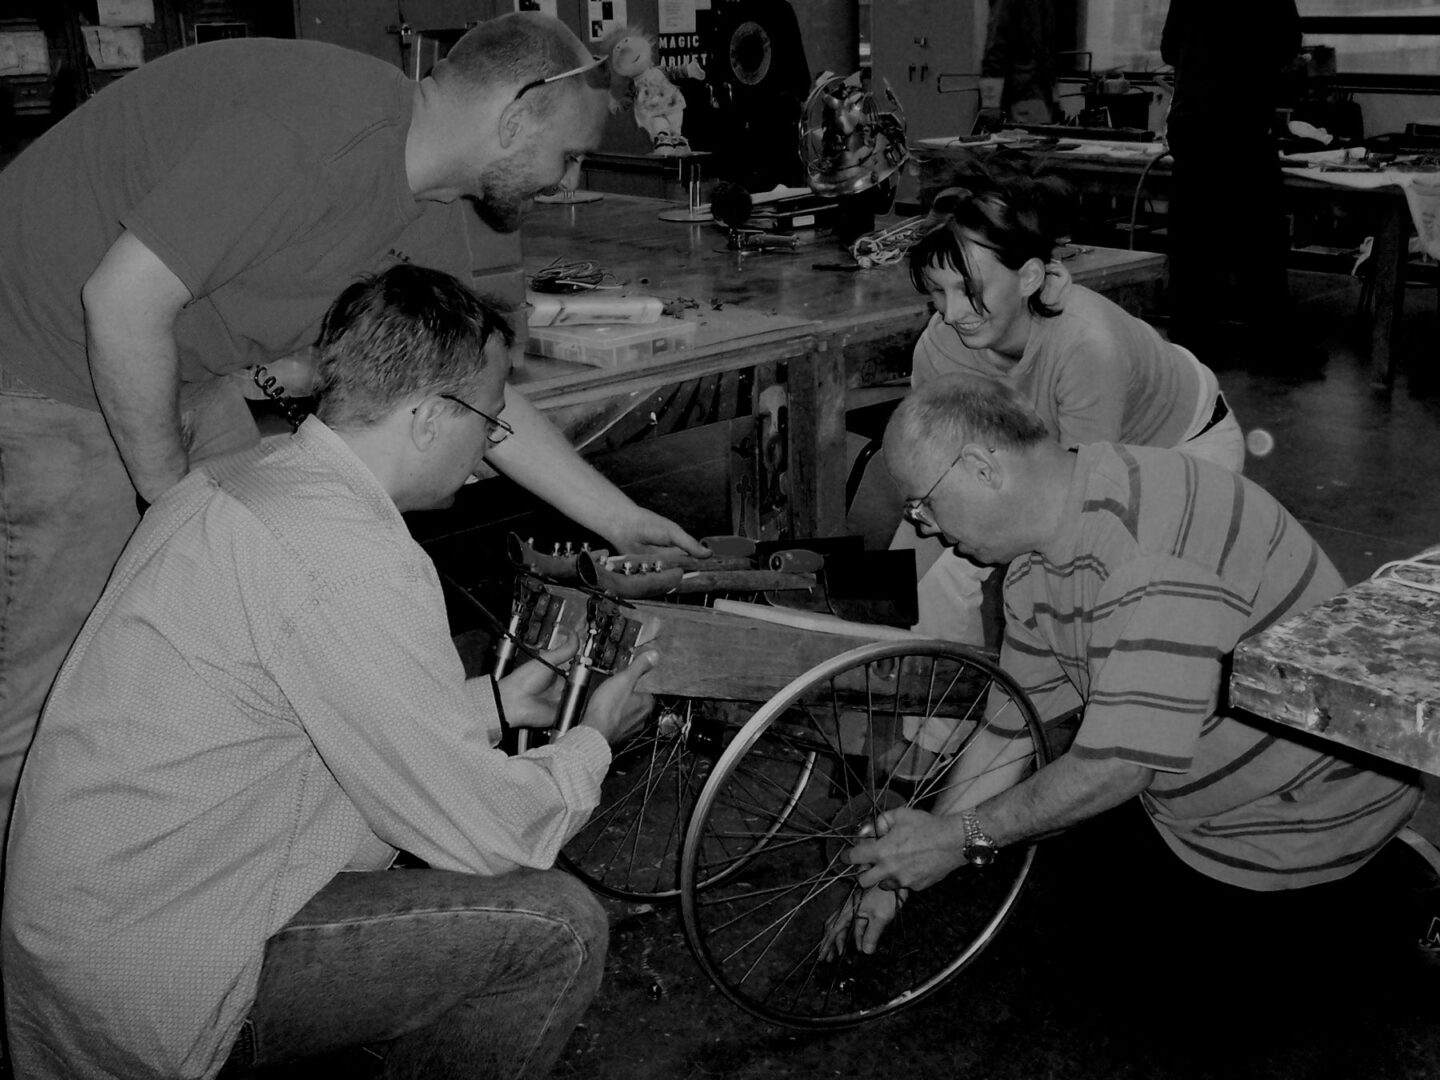
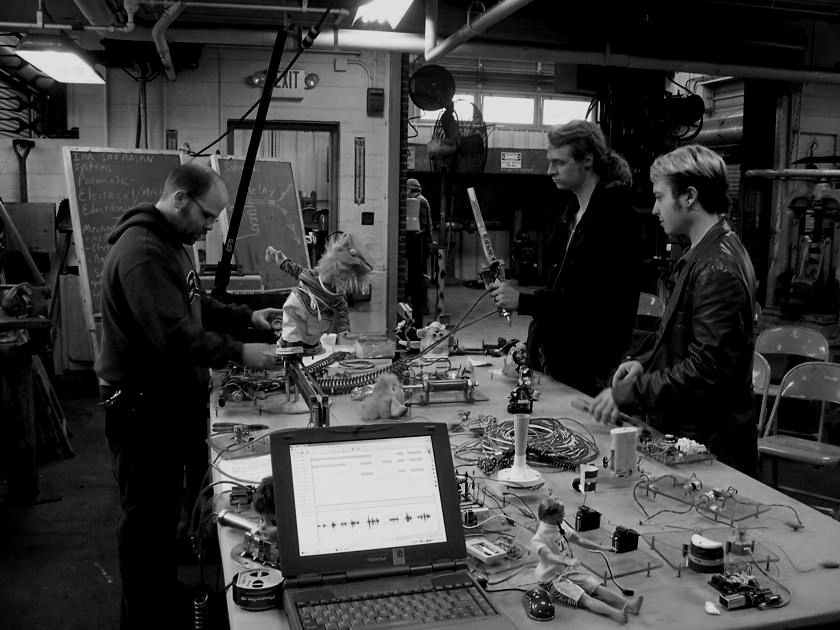
32 contact hours This workshop is for students who wish to apply self contained electrical and air powered kinetic movement to their designs. Students use electrical components salvaged from electronic toys as "sensors" and activator devices. These sensors are then redesigned to connect with pneumatic or hydraulic mechanical systems. The workshop is structured for artists with little or no electrical or mechanical engineering background. Ira Sherman will supply all electronic and mechanical components needed to demonstrate and build a working kinetic device. These components can be later purchased if students wish to build and keep a group sculpture project. Participants should have experience in basic metal fabrication techniques. Students and instructor need access to a well equipped metals fabrication sculpture studio or jewelry/metalsmithing facility. The supplies for this workshop are crated and shipped in advance. The workshop can be presented as a one day demonstration or a five day team-design-build project. The workshop includes all special pneumatic and electrical devices but does not include metal parts for a design/build project. These extra materials are usually acquired by a class field trip to the local scrap yard. Students and instructor should have access to a metal fab shop that is equipped with a TIG or MIG welder, floor drill press, and 6" swing (or larger) metal lathe. Limit 15 students
Jewelry Casting Techniques For The Studio Artist
Students will learn basic techniques for wax model carving , model sprewing, investment and burnout techniques. Emphasis will be on producing porosity free castings with extreme detail in silver or gold All techniques will be adapted for use in an artist studio environment. Demonstration Participation Limit - 20 Hands on Participation Limit - 12 Students, contact hours 20
Requirements:
Fully equipped jewelry studio with vacuum investing machine, centrifugal casting machine, burnout kiln, sprew bases, small investment flasks (approx. 2-3" x 2")
Supplies:
Hard carving wax, sprew wax, sterling silver casting metal
RTV Silicone Mold Making Techniques For The Jeweler/Artist
RTV Silicone rubber compounds are very useful for making high quality wax and plastic reproductions of original jewelry designs, textures and found objects. Students will construct their own mold frames, design original small scale models and learn to accurately cut, and inject wax copies of the molded model. Contact Hours - 6 Participation Limit - 6 students
Supplies:
11 pound Dow Corning RTV E Silicone Rubber Lot
25 surgical blades and 3 blade handles
2 feet x 1 foot 1/8" Aluminum Plate
Basic Jewelry Stone Setting Techniques
Students Will Learn Basic Gem Stone Setting Techniques For :
Prong and crown settings
Bezel Settings
Channel settings
Bearing settings
Demonstration Participation Limit - 16
Hands on Participation Limit - 8, contact hours 28
Requirement:
General Jewelry Studio with soldering stations and bench pins set up for at least 8 students
Supplies:
24, 5mm round faceted CZs
30, 3mm round faceted CZs
24 silver 4 or 6 prong die struck heads
Calibrated stone setting burrs for the above stones
Burnishes, stone setting pliers, Flex shaft machine with variable chuck attachment
24K Kum-Boo Technique With Fold Forming
Kum-Boo 24K gold overlay technique is a stunning way to add the color and the richness of high karat gold to sterling silver jewelry designs. Students will learn how to make their own overlay 24K gold foil from a pure gold ingot. Student will design and fabricate a simple sterling fold form brooch and apply Kum-Boo to their designs. Each student will leave the class with a completed sterling and gold art object. 3'x2' Sterling Silver 18 gauge Silver Solder – Medium and Hard 2 inches of 12 gauge round Sterling Silver Wire Agate Burnisher (Tungsten-Good, regular steel burnisher would be OK, but not preferred) 1 - 10" Serrated with Blunt Ends Tweezer (Non Locking) Leather gloves Sharp Scissors to cut through gold foil 2 Sheets of Tracing Paper
Applied Fold Form Technique For Jewelers And Metalsmiths
Fold Form technique can easily be adapted to the creation of fine jewelry and hollowware in precious metals. When fold forms are "decked" they become structurally solid hollow forms that can be cut and redecked into an infinite variety of art objects. This class will focus on the design and creation of hollow form jewelry objects in precious metals with emphasis on craftsmanship and surface treatments. Students who attend this class should have some previous experience creating and planishing fold formed objects and have a good understanding of high temperature silver solder soldering technique.
Studio Requirements:
Rolling Mill
Planishing stakes
Hammers
Strong bench mounted vise
Forging Anvil
Recommended Student Tools And Supplies:
Rawhide or plastic mallet
Small and medium forging hammer (smooth or polished)
Small and medium cross peen hammer (smooth or polished)
Small and medium planishing hammer (smooth or polished)
6-8 inch vise with smooth or polished jaws (sturdy mount)
4" x 6" 22ga. Fine Silver Sheet (1/student)
6" x 6" 22ga. Sterling Silver sheet (1/student)
Medium and Hard silver solder ( 2' of 20ga. wire solder each)
Karat gold sheet (optional)
Cotton lace
Dapping blocks and punches
Oxy/Gas torches
Med. and easy silver solder and soldering set up
Polished butter knife (1/student)
Rolling Mill
Scribe, sketch pad, rubber cement
Aviation snips
Finishing files
16ga steel binding wire
Jewelers saw
Burnishes
Fabric for roller printing
EYE AND EAR PROTECTION
Fold Form Techniques In Ferrous Metals For Blacksmiths And Metalsmiths
Jewelers Fold Forming techniques can be modified and interpreted in larger scale using blacksmith and steel fabrication techniques. Design pattern layout is essentially the same for fold forming in non-ferrous metals but heavier thicknesses and larger steel objects often require high working temperatures and specialized tools used buy blacksmiths. This workshop will demonstrate a variety of fold forms in 1/16 - 3/16 mild steel plate. Students should have some experience with blacksmithing technique and completely understand the etiquette and safety requirements used in blacksmith studios. Hands On Participation Workshop Limit - 12, 18 contact hours Hands on workshop Demonstration Workshop only - Limit - 20, 6 hours
Recommended Tools And Supplies:
Complete blacksmith studio with gas forge
4 anvils and 2 post vise (or similar sturdy vise)
Supplies:1/16 mild steel plate, 3/16 mild steel plate
EYE AND EAR PROTECTION
Steel Vs. Copper: Experimental Forging Techniques For Jewelers
This workshop will introduce the Jeweler/Metalsmith to the premeditated forging process used in basic blacksmithing technique. The forms and techniques being demonstrated in steel will become the inspiration for the student to design a collection of smaller scale forged elements in non-Ferris metal. These small forged elements will then become prototype forms for future jewelry designs. Students will learn basic blacksmith techniques and get a chance to work directly with forging hot mild steel, the forms and techniques demonstrated in mild steel will then be interpreted into designs using hot and cold forged 1/4 inch copper rod. 20 contact hours, Limit 12 students
Recommended Tools And Supplies:
Complete blacksmith studio with gas forge
4 anvils and 2 post vise (or similar sturdy vise)
Supplies:
12 feet ½ inch mild steel square rod, 6 feet round or square ¼ inch pure copper wire EYE AND EAR PROTECTION
Steel And Bronze Forging Techniques For Sculptors And Metalsmiths
This workshop is open to anyone, novice or skilled, who is interested in learning the basic skills or honing his or her skills of hand forging non-leaded bronze (naval bronze) and mild steel. Ira will demonstrate traditional blacksmith forging techniques for forming these metals into sculptural and utilitarian objects. This hands-on workshop will place equal emphasis on aesthetics and technique. 20 contact hours, Limit 12 students
Supplies:
12 feet ½ inch mild steel square rod, 6 feet round or square ¼ inch pure copper wire
PLANT CELL PHYSIOLOGY AS ARTISTIC INSPIRATION
Often the results of a scientific discovery becomes the inspiration for artistic expression. Students rarely have a chance to get a formal introduction to the creative process of melding two seemingly unrelated academic disciplines. This 6-8 week class will teach the basic use of traditional microscopes and the use of a computer enhanced optical microscope to examine specimens of plant cells and later modify optical images of these cells into 2 dimensional computer generated color artwork.
7 Contact Hours
Maximum Student Participation - 12, All students will receive basic introduction on the use of a microscope, plant cell physiology, and rules of abstract graphic design. Students will be divided into teams of 5 students to identify a plant specimen, prepare a microscope slide of the specimen and transform the microscopic cell image into a artistic graphic image.
Techniques:
Basic slide preparation
Basic microscope technique
Basic computer processes including applying graphic filters to photographs of microscopic specimens.
Supplies:
5 good quality 30-120x microscopes with illumination
Two color ink jet cartridges
Microscope slides and cover slips
20 page personal sketch pad of 8 x 10 paper (homemade pads are just fine)
Blank CDs
Students Requirements:
Science laboratory etiquette requires students to be attentive and courteous to each other and be able to work together as a team. Not every student will be doing the same procedure and students will need to be able to explain and share to each member of the team what they have learned. No food, drinks or gum is ever allowed in the science lab.
